
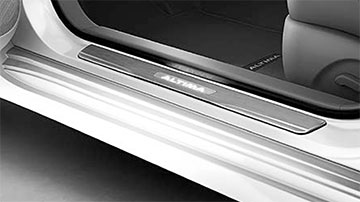
If for any reason you have to remove a RH or LH dash side lower finisher from a 2013 Altima, refer to this procedure and follow the cautions to help avoid damaging the finisher.
![]()
Be careful when removing the dash side lower finisher(s). If not done correctly and carefully, the finisher’s clips may break during removal and installation.
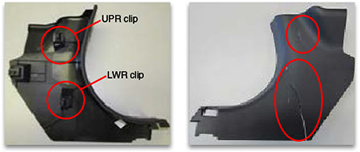
Upper Clip Removal
1. Lift the inner front kicking plate at the inner pawls with a small trim tool or flat head screwdriver, and then carefully release the remaining pawls.
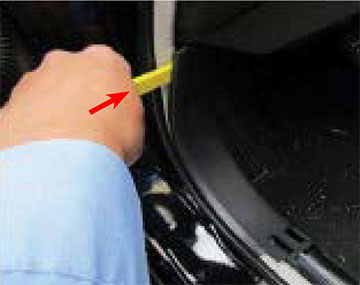
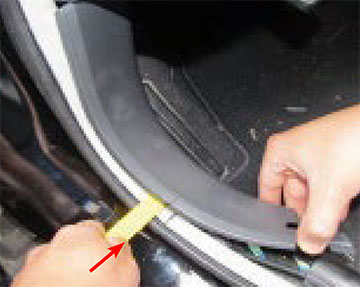
2. To begin removing the RH or LH lower dash side finisher, start by making a space between the seal and the dash side lower finisher.
3. Insert an appropriate trim tool into the space as shown in the photo and slightly pry outward.
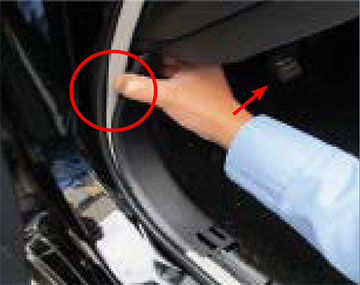
4. Then, grasp the upper front of the finisher with your hand.

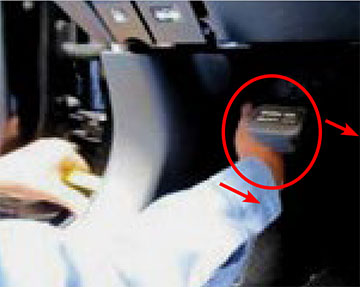
5. While you are pulling the front side of the finisher with your hand, push the trim tool underneath the finisher until you feel the upper clip release from the panel.
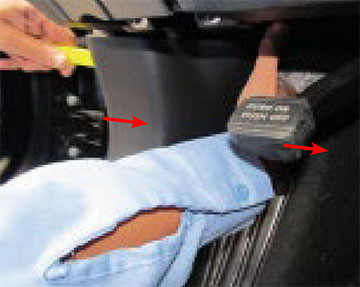
6. Only detach the upper clip at this time.
Lower Clip Removal
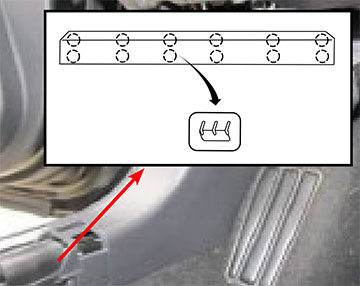
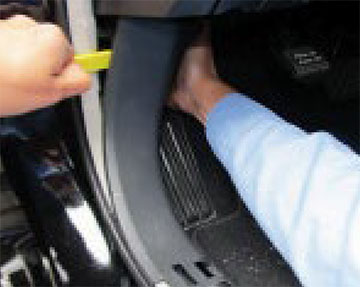
1. To release the lower clip, first pull up on the lower dash trim to lift it off the harness protector.
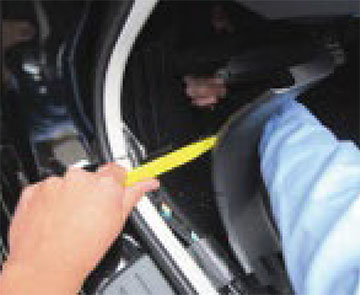
2. While lifting the lower back edge of the finisher, insert the trim tool.
3. Now grasp the dash side finisher at the bottom area near the front and start to lift inward as shown in the photo.
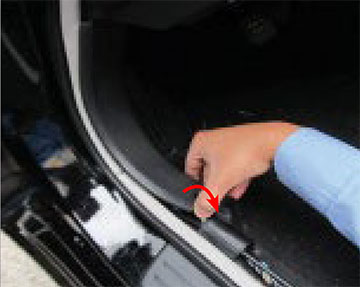
4. Keep pulling the finisher with your hand while pushing the trim tool underneath the finisher to release the lower clip from the panel.
NOTE: Visually check the metal clip and pawl for deformation and damage during installation. Replace as necessary.
Incorrect Dash Side Finisher Removal
DO NOT try to remove the lower dash finisher by just pulling up on the finisher
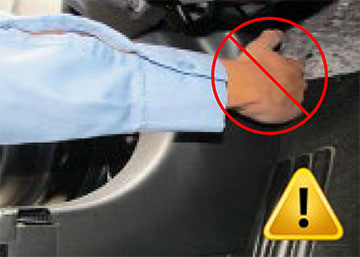
Pulling on the front side of the finisher may possibly bend or crack the lower dash finisher
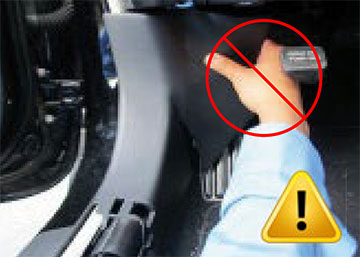
Damage to the clips or the pawls may occur.

Reinstalling the Dash Side Finisher and Front Kicking Plate
![]()
Installation is in the reverse order of removal.
- When installing the dash side lower finisher, check that the metal clip and pawl are securely placed in the body panel holes, to help ensure against loose finishers and vibration.
- When installing the inner front kicking plate, check that the pawls are securely placed in the body panel holes.
- Visually check the clips for deformation and damage prior to reinstalling the finishers. Replace as necessary.