LEAF™ Battery Case Air Leak Detection Tip

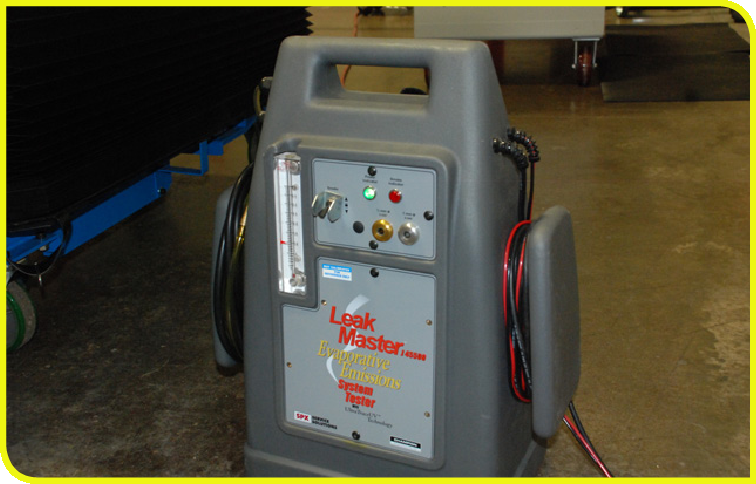
When a 2011-12 MY LEAF™ battery is repaired, the battery pack case must be pressure tested before installing the battery back into the vehicle. The use of a Leak Master Systems Tester Essential Tool can make pressure testing easy, and has now been approved for this procedure. To complete the test with the Leak Master follow this procedure:
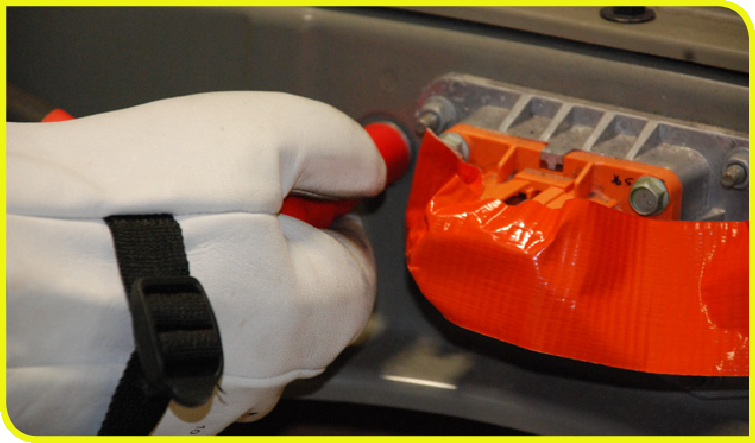
1. Install the service plug switch to seal the battery pack.
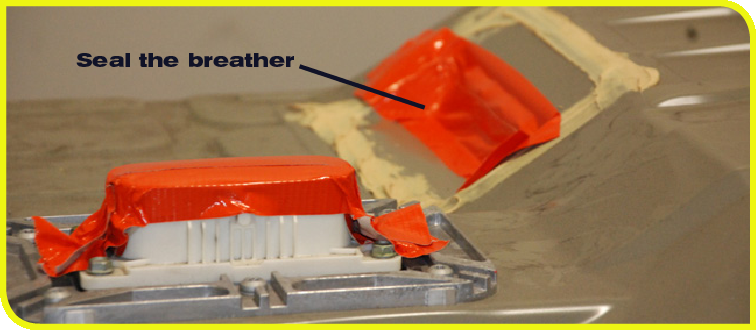
2. Use vinyl tape or similar means to seal the breather and service plug retainer so that air does not enter the battery pack.
- Use the wide vinyl tape so that you can cover up breather at once.
Note: Apply the tape so the edges are flat and not wrinkled to help eliminate any leaking.
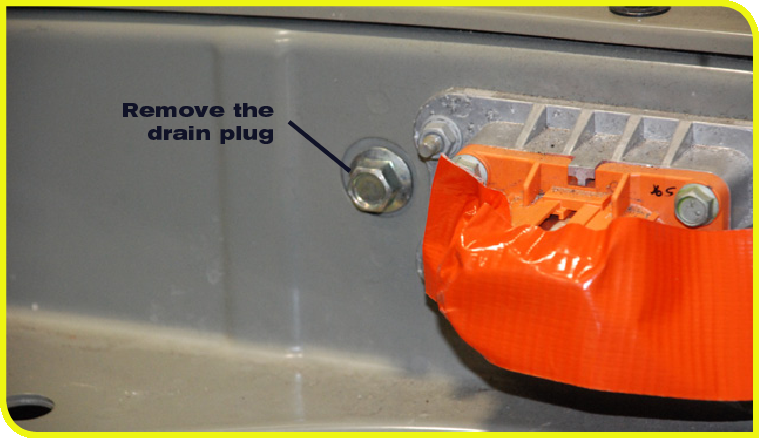
3. Remove drain plug.
4. Install adapter from (SST: KV99111400).
5. Install adapter from (SST: KV99111400).
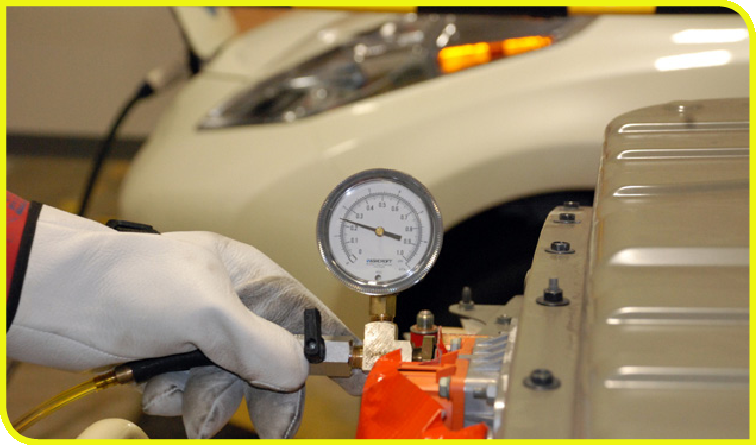
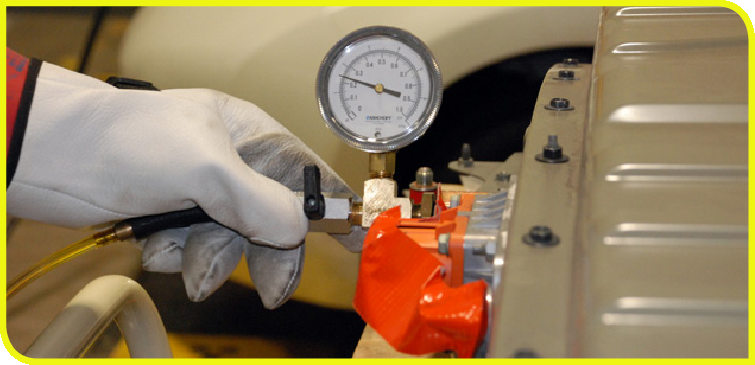
6. Install the Leak Master Systems Tester to the plug seal.
7. Turn OFF the smoke.
8. Turn ON the Leak Master Systems Tester and begin applying pressure.
9. Perform the air leak inspection by applying 1.6 kPa (0.0163 kg/cm2, 0.23 psi) of pressure inside the battery pack for approximately 1 minute.
The standard value is 1.4 kPa (0.0143 kg/cm2, 0.20 psi).
![]()
Do not apply any pressure exceeding 2.0 kPa (0.0204 kg/cm2, 0.29 psi).
10. If the pressure drops below the limit value, use soapy water and check for leakage points.
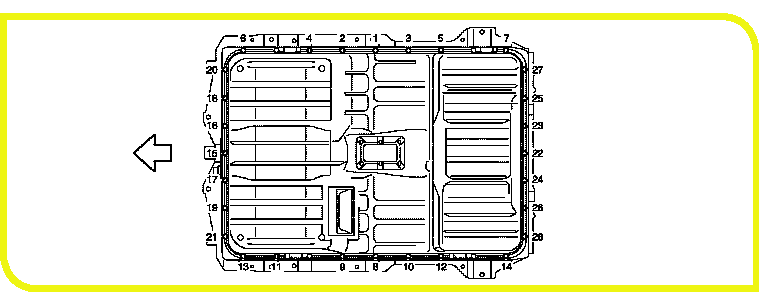
If the psi result drops below the standard value, re-tighten the mounting nuts and bolts in numerical order as shown in the figure.