![]()
Weather-Related Issues
“You don’t need a weatherman to know which way the wind blows.”
Bob Dylan- Album Bringing It All Back Home 1965, Song, Subterranean Homesick Blues, 1965
“If you don’t like the weather in New England, just wait a few minutes.”
~Mark Twain
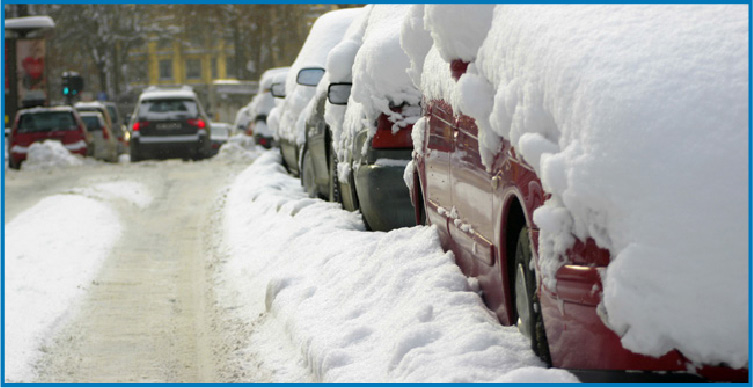
If you are on the Eastern Seaboard, especially in the Northeast, you are probably wondering if it is safe to put away the snow shovel! In the Midwest, you are getting mighty tired of opening and closing that umbrella. Weather can change pretty quickly, especially between seasons. In contrast, March and April in the Southwest can bring everything Mother Nature has to offer: days with record low temperatures and days in the 80s and 90s, “changed up” with others of surprising cold and dense fog.
Around the country with El Niño (unusually warm temps) and La Niña (unusually cool temps in the equatorial Pacific) we’re all learning to expect differing weather patterns and the often-erratic climatic changes that happen with every new season. You can be certain the greater the deviation in the weather, the greater the likelihood of weather-related issues occurring. With each season of dramatic weather shift, our customers will be bringing their vehicles into your dealership.
With this in mind, we have gathered topical information to provide you with some pertinent and timely direction for repairing cold and wet weather-related issues. The diagnosis and repair information compiled here can be useful to you in the shop. It is intended to provide you with a leg up on whatever weather conditions you are experiencing in your area.
“Look around, leaves are brown now and the sky is a hazy shade of winter Look around, leaves are brown There’s a patch of snow on the ground...”
Simon and Garfunkel – Album, Bookends 1966, song, A Hazy Shade of Winter
Back to Basics for Cold Weather Issues
Check the Oil and Battery
In cold weather, a combination of several small problems can become a large one. For example, a vehicle with the wrong viscosity oil and an older battery may start and run fine at 50 degrees Fahrenheit, but at 32 degrees or lower, it may not start or be a bit sluggish. Going “back to basics” when diagnosing cold weather issues is a great place to start.
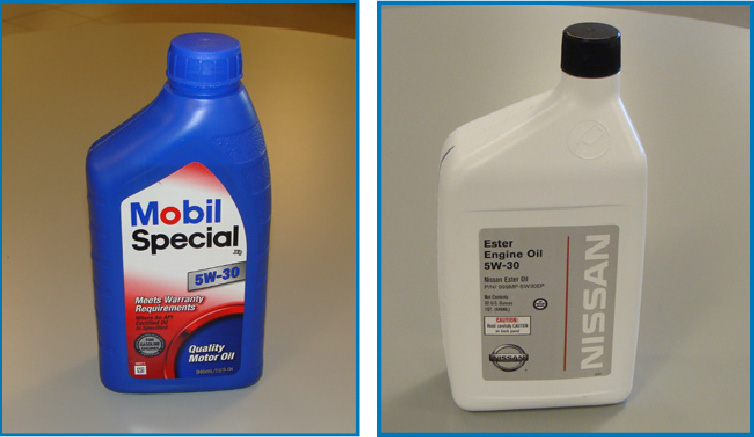
Most all Nissan and Infiniti vehicles are designed to use 5W-30 motor oil under all driving conditions. 10W-40 may be used as well, but only for ambient temperatures above 0 degrees Fahrenheit (-18 degrees Celsius).
BEWARE: Use of 10W-40 or 20W-50 weight oils is not recommended because these can contribute to hard or no-starts as well as poor idle quality in cold weather — not to mention less fuel efficiency! Using the wrong oil increases the muscle needed to turn the crankshaft. If a customer has been running 10W-40 oil in a vehicle with an older, sulfated battery with power drained by colder weather, they have got the ingredients for a no-start. Always refer to the applicable ESM or the vehicle owner’s manual to find oil viscosity specification for the climate where the vehicle will operate.
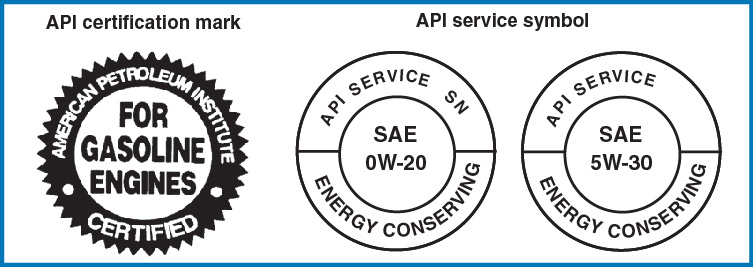
Rating oil:
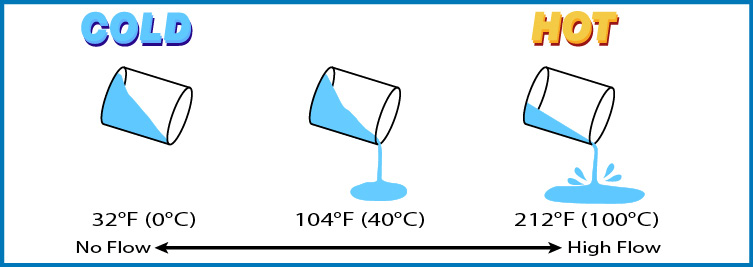
What is viscosity? Viscosity refers to the thickness of oil or its resistance to flow. It’s measured by a very precise process developed by SAE (Society of Automotive Engineers). An oil sample is heated to a predetermined temperature, and then allowed to drip through a very exact sized opening on a device called a viscometer. The time it takes for the sample to drip through the opening determines the oil’s viscosity.
What do the numbers/letter mean? Let’s take 5W-30 as an example. The 5W is the SAE designation for the “winter” or low temperature thickness rating of the oil. The number without the “W” (the “30”) stands for the rating at normal operating temperatures. The advantages of low W viscosity are obvious, the quicker the oil flows cold, the less dry running. Less dry running means much less engine wear.
Keeping oil at the proper thickness: Oil tends to thin out at higher temperatures and get a lot thicker at lower temperatures. To help prevent these extremes, special hydrocarbon molecules known as “polymers” are added to the oil. Polymers help to thicken the oil when engine temperatures are hot and thin it when it’s cold. Oils treated with polymers meet the requirements of two or more SAE oil grades. They are known as multi-viscosity, multi-grade, multi-weight, allweather and all-season oils.
Batteries and Cold Weather
In lead acid batteries, the chemical-to-electrical energy conversion process slows down in colder temperatures. A fully charged battery with 100 percent of its cranking power at 80 degrees Fahrenheit has only 65 percent left at 32 degrees Fahrenheit and 40 percent left at 0 degrees.
Perform a quick, cold-weather battery test as needed by turning on the vehicle’s headlights while cranking over the engine. As a general rule, if the headlights dim completely, the battery either lacks capacity or requires charging.

Abnormal Current Draw
If the vehicle’s battery has less than a full charge, it’s possible that an abnormal current draw sometimes referred to as “dark current” is causing the battery to discharge. Dark current is a term for electrical energy that is being drawn from the battery by accessories and electronic system features when the Ignition is OFF. It’s usually a very small amperage draw, measured in milliamps. Examples of devices that could cause parasitic draw include BCMs, ECMs, AV System memory and security systems.
You can test for this issue by performing a current draw test on the suspected vehicle. The test is easy.
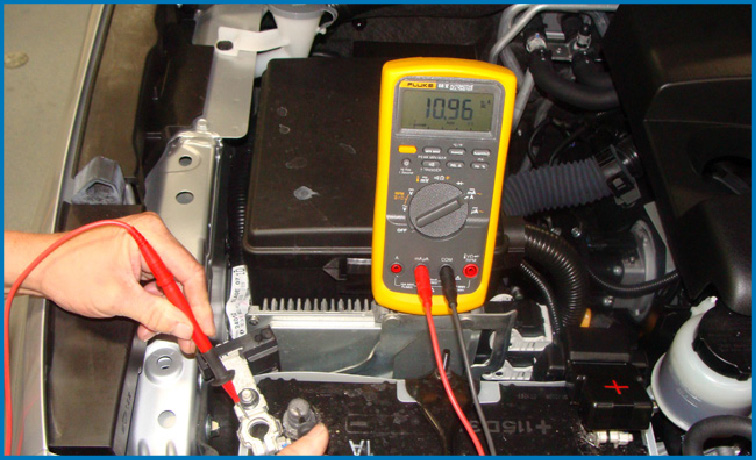
Testing for Current Draw:
NOTE: You’ll need an accurate ammeter, one that can read in milliamps. It can be either an inductive type, which clamps around the battery cable, or an in-line type that goes between the battery’s negative post and the negative battery cable clamp.
Step One: Power draw test
1. Tape the door switch “closed” to keep the interior lights off.
NOTE: When you open the vehicle’s door, the interior light circuit will close and be reflected in the ammeter readings. You should disable the light switch in the door jam by placing tape over the switch to keep it in the “closed” position to save time and allow for consistent, accurate ammeter readings.
2. Shut the ignition switch OFF. Take the key out of the ignition (if so equipped), move the Intelligent Key(s) at least 10 feet away from the vehicle.
3. Make sure all accessories, lights, etc. are OFF.
4. Allow all circuits to “power down” for 10 minutes.
5. When checking in series, the probes should be touching their respective contacts at the time the battery post clamp is removed. This can be done by touching the negative probe to the negative post after sliding the clamp up the post so that it is still touching it. The meter must be capable of registering milliamps.
6. Read the meter and write down the value.
7. Find a known-good vehicle that matches the customer’s vehicle and vehicle’s option package.
8. Measure that vehicle the same way you did the customer’s (steps 1-6 above). This value will be your “baseline” to compare against yours.
NOTE: It used to be true, current flow dropped below 50 milliamps. This is no longer true! Today with BCMs and ECMs and CAN systems, there is no standard value of maximum dark current draw that goes across all cars. Always test a known-good vehicle to establish a baseline. If the car you’re working on is over that amount, go to Step two.
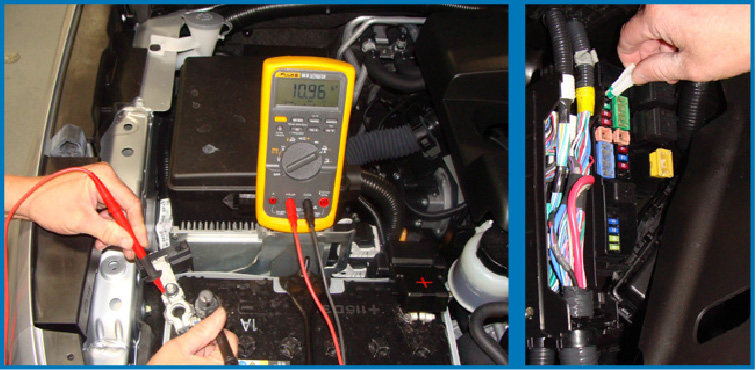
Step Two: Identify the cause
Identifying the cause of excessive dark current draw involves a process of elimination.
1. Look up the Power Supply Routing Circuit Schematic) and the Battery Power Supply Wiring Diagram from the applicable ESM.
2. Check the Circuit Schematic and Power Supply Diagram to identify fuses and circuits that are powered up with the key in the “OFF” position.
3. Pull the fuses you identified one at a time, and keep your eye on the ammeter each time you pull a fuse.
4. When pulling a fuse causes the current flow to drop below the value measured as your baseline, you’ve found the culprit circuit.
5. Now you can further investigate that circuit to see which component is causing the excessive draw.
Check Your Seals
Extremely cold temperatures can also affect seals. Rubber used in seals tends to harden as ambient temperature drops, making it difficult for a seal to conform to a sealing surface.
When you combine a cold, hardened seal with higher-than-normal cold oil pressures, leaks can occur. Customers should be advised to let the engine warm up for a minute and then take it easy for the first few miles of driving during colderthan-normal ambient temps. This helps to prevent high fluid temperatures and potential fluid leakage.
Older vehicles may be particularly prone to this condition, since the seals are less flexible from aging.
“They Call It Stormy Monday, but Tuesday’s just as bad...”
T-Bone Walker -album, T-Bone Blues, song, Stormy Monday Blues, 1947
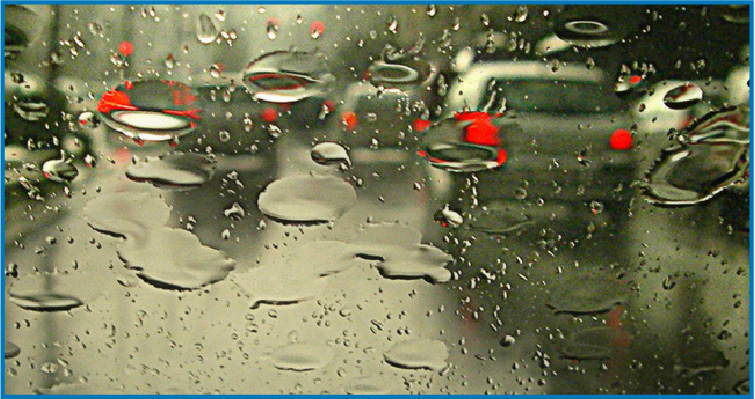
Diagnosing Water Leaks
Over the winter, a relative lack of the sun’s warmth means most moisture collected on the earth’s surface stays there, not evaporating. In spring, warming temperatures cause more moisture to return to the air in the form of water vapor. More moisture in the air means more potential for precipitation.
In some areas of the country, spring has sprung. Along with the sweet smells in the air and the urge to bring your favorite summer “toy” out of storage, come customer visits in to your dealership due to water leaks, as spring time is known for rains.
Although interior water leaks are not very glamorous repairs, they will be arriving. There is a simple, but effective four-step troubleshooting procedure that you are probably very familiar with, since it’s taught in the Training Centers. Using it can give you the best chance of preventing comebacks:
1. Verify
2. Isolate
3. Repair
4. Recheck
Perhaps the most important part of this procedure is the very first one: Verify.
The customer interview can make or break our verification time. For you to have the best chance of success, your service advisor needs to relay an accurate description of the customer comment.
Questions to be asked include:
Under what conditions does the leak occur? Is the car parked or moving?
- If it was parked, was it on an incline? Which way is it leaning?
- If it is moving, at what speed does the leak occur?
- Are any accessories being used when the leak happens?
- Does it happen when it’s raining or during a car wash?
These types of questions are necessary to properly duplicate the circumstances and allow you to fix it right the first time.
Finding a Leak:
The dry method:
If you have an idea of where the water is leaking into the car, check for water marks, stains, or even signs of rust.
1. “Pressurize” the passenger compartment. Start the vehicle, close all the windows, set the A/C to Fresh Air, and turn the A/C blower to HI.
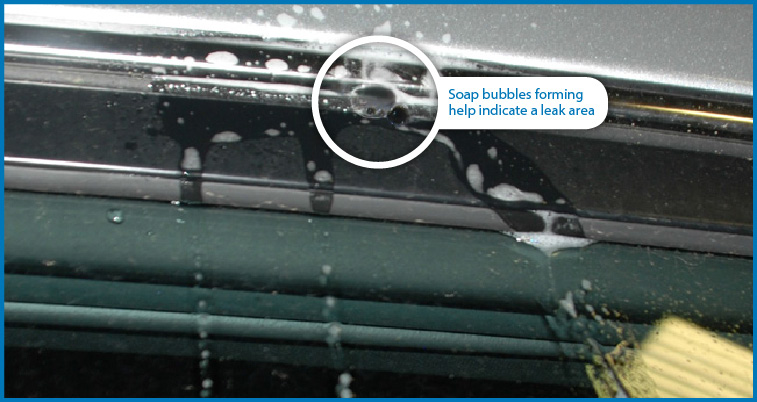
2. Use a technician’s stethoscope listening device outside the vehicle to help track down the leak.
3. Or, spray a soap-and-water solution onto the suspected leak area and watch for the bubbles.
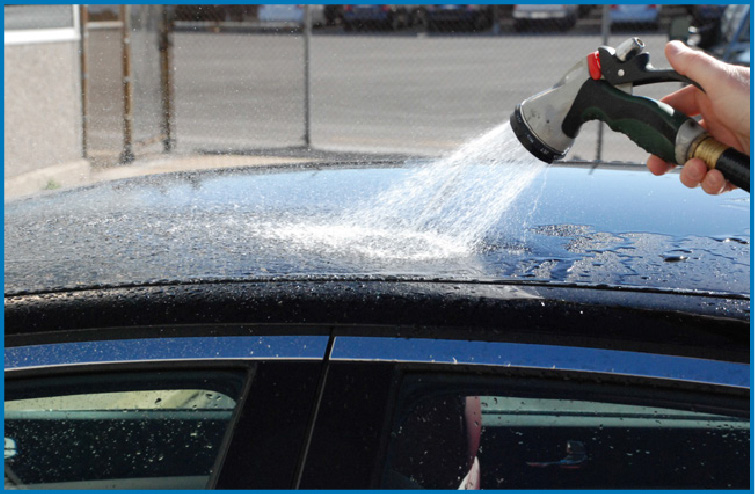
The wet method:
It takes two Technicians to do this.
1. Turn the A/C blower OFF. You don’t want the passenger compartment “pressurized” for this test method.
2. Technician One: Hose down the car with running water from a garden hose over the suspected leak area. When using a spray nozzle, it should be set to emit a lower pressure of water. A garden spray nozzle for watering plants works well.
“I’m fixing a hole where the rain gets in and stops my mind from wandering where it will go.... I’m filling the cracks that ran through the door and kept my mind from wandering where it will go…”
Lennon - McCartney, Album - Sgt. Pepper’s Lonely Hearts Club Band, Song - Fixing a Hole, 1967
Finding the point of entry usually means being able to see where the water is entering the car. Remember that the water will trail along panels or seams. When you water test a car, start at a low point and work your way up to the roof. If the tech inside the vehicle sees water leaking from the bottom of the windshield or at a lower point on a window, there is no need to go any higher with the water test method until you fix the low leak first.
3. The technician inside may have to look around (using a good flashlight) and watch for leaks from inside the vehicle.
As you’re trying to determine the source of the leak, remember the old saying used by house roofers: “Think like a rain drop”. Water drops may be leaking down a ‘blind’ path you can’t necessarily see because of gravity and the available “path”.
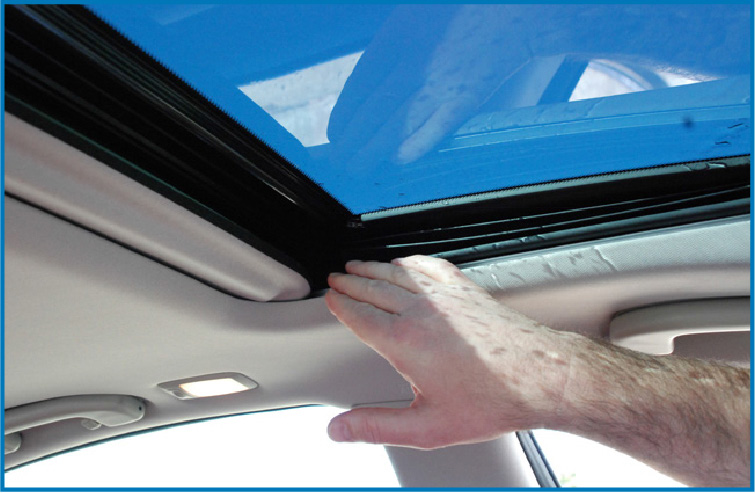
The most common sources of water infiltrating in a vehicle are:
- Sunroof drains
- Door seals
- Clogged HVAC drains
Here is an issue example and a follow-up question for you, the technician, to ask yourself to make a quick diagnosis and repair:
Leak in Windshield
Your service advisor gathered plenty of detailed information during the customer interview. This customer statement requires some additional thought on your part: “The leak only happens when the interior fan is operated at higher fan speeds and while I’m driving in the rain.”
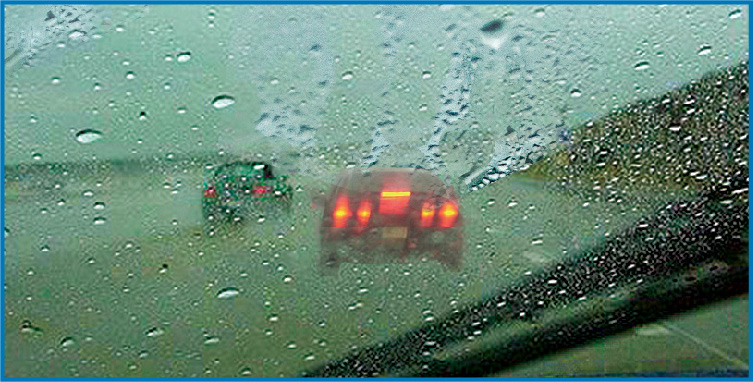
With this statement, the issue becomes slightly more complicated. Why would the windshield leak only when the blower fan is on, when the vehicle is moving?
Answer: When the fan is turned on, areas of low or negative pressure can be produced within the passenger compartment. When areas of high pressure are created outside the vehicle (as when the vehicle is moving), pressure differential between the two areas can cause air and rain outside the vehicle to be drawn inside.
This is an excellent example of how important a proper customer interview is, and with your great deductive thinking you can save the day (and lots of time), and make a repair that makes a customer happy!